 (Image via
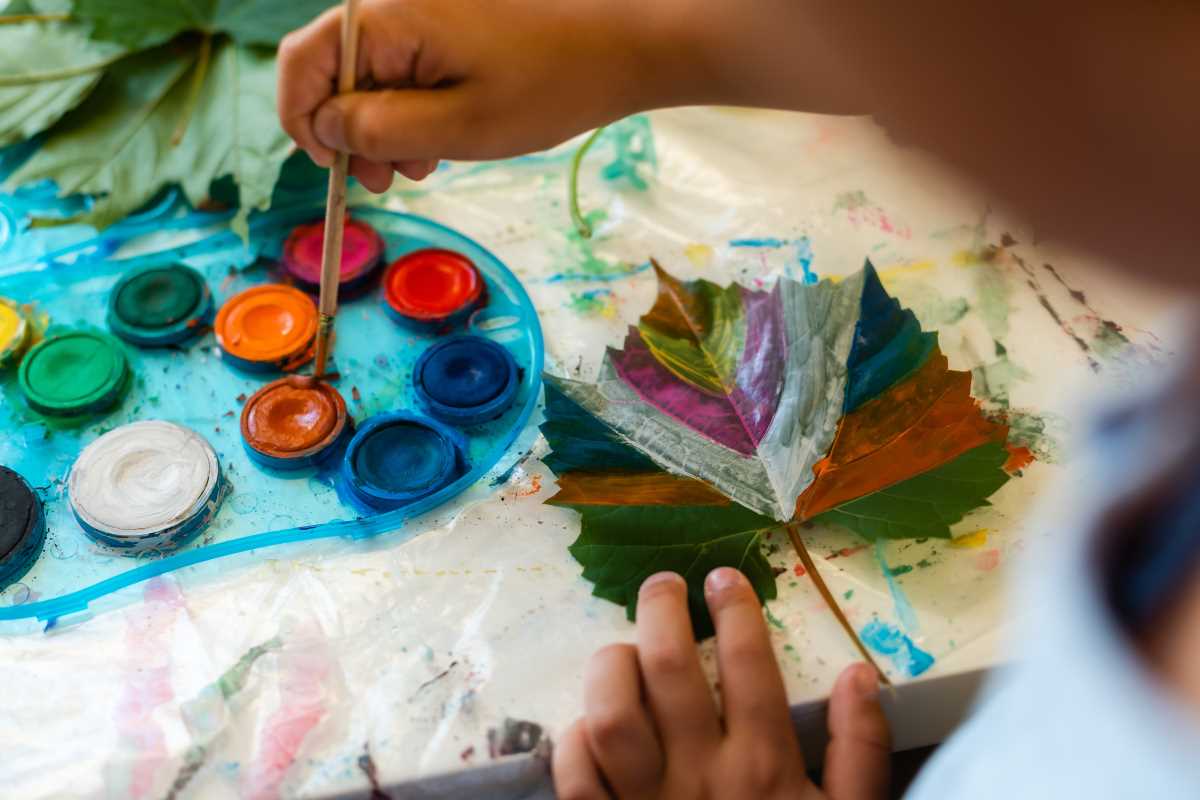
Crafting is one of the best ways to spend time, whether you're looking to de-stress, keep the kids entertained, or explore your creative side. What's great about it is you don't need a fancy kit or expensive materials. Often, everything you need is already in your home, just waiting to be turned into something fun and useful. From old jars to scraps of fabric, everyday items can transform into unique crafts with a little creativity.
DIY projects are not only budget-friendly but also encourage recycling and upcycling, helping reduce waste while making something beautiful or functional. Whether you're working solo or involving family and friends, the ideas below will have you looking at your household “junk” like treasure. Take a look at these ten simple yet satisfying craft ideas, each designed to inspire and spark some creativity!
1. Turn Mason Jars into Decorative Organizers
Mason jars are incredibly versatile and probably sitting in a cabinet somewhere in your home. Whether you’ve got jam jars, pickle jars, or any other glass containers, you can repurpose them into chic organizers for your workspace, kitchen, or bathroom.
How to Do It
- Remove the labels by soaking the jars in warm, soapy water for about 10 minutes.
- Paint the jars with acrylic paints or use spray paint for an even finish.
- Decorate with ribbons, twine, or washi tape for added flair.
Once they’re dry, use them to hold pens, makeup brushes, cooking utensils, or even fresh flowers. They’re functional, pretty, and easy to customize.
2. Create a Fabric Garland
Got old T-shirts, jeans, or leftover fabric scraps lying around? Don’t toss them! Turn them into a decorative garland to hang in your living room, bedroom, or for a special occasion.
How to Do It
- Cut the fabric into strips of equal size (about 1” wide and 6” long).
- Tie the strips onto a piece of sturdy string or rope, alternating colors or patterns as you go.
- Hang the garland against a wall, around a frame, or over a doorway.
Fabric garlands are a great way to add charm and personality to any space, and you can get super creative with colors and textures to match your style.
3. Make a Coffee Filter Wreath
If you’ve got a stash of coffee filters that never sees much action, now’s your chance to put them to good use. Yes, coffee filters make excellent crafting materials! With a little effort, you can create a beautiful paper wreath to brighten up your home.
How to Do It
- Take a cardboard ring (cut from an old box as your base).
- Fold coffee filters into quarters and attach them to the ring using glue or a stapler.
- Keep layering the filters until the ring is completely covered and fluffy.
- Optionally, spray-paint the edges for a pop of color or add embellishments like faux flowers or glitter.
This project is both budget-friendly and eye-catching, perfect for seasonal or year-round decor.
4. Transform Tin Cans into Planters
Don’t throw away those empty soup or vegetable cans! They can easily be turned into charming plant holders with a little cleanup and creative flair.
How to Do It
- Wash the cans thoroughly and remove the labels.
- Paint or wrap them with paper, fabric, or decorative tape.
- Add soil and small plants like herbs, succulents, or flowers.
These DIY planters are a great way to spruce up your windowsill or garden, and they’re customizable to fit any aesthetic.
5. Design Your Own Candle Holders
If you’ve got some glass containers, leftover ribbon, or even seashells, you can design your own candle holders that are both unique and mood-setting.
How to Do It
- Use small jars or drinking glasses as the base.
- Wrap the outside with lace, burlap, or twine and secure with glue.
- Drop in a tealight or small candle.
Optional additions like glitter or beads can add extra sparkle. Once your candles are lit, you’ll have subtle, soothing lighting perfect for any evening.
6. Turn Cardboard into Wall Art
Old cardboard boxes aren’t just recycling material; they’re a blank canvas for your creativity! With some cutting and decorating, you can turn them into one-of-a-kind wall art.
How to Do It
- Cut the cardboard into shapes like circles, triangles, or hexagons.
- Cover each piece with fabric, paint, or decorative paper.
- Arrange the shapes on the wall in a pattern or cluster for a modern, artsy look.
This DIY is perfect for adding personality to a space without breaking the bank.
7. Make a Button Tree Canvas
Have a stash of spare buttons in your junk drawer? With a plain canvas or sturdy cardboard, you can create a colorful button tree artwork that’s fun to make and display.
How to Do It
- Sketch a simple tree outline on your canvas.
- Use glue to stick buttons where the leaves would go, mixing colors and sizes.
- Optional touch? Paint the background or add glitter for a whimsical finish.
This is an easy craft idea for all ages and guaranteed to brighten up any wall.
8. Build a DIY Desk Organizer
You don’t need to splurge on fancy organizers when you can make your own! Using things like cereal boxes, shoeboxes, or cardboard tubes, you can create a custom desk organizer to keep everything in its place.
How to Do It
- Cut cereal or shoeboxes at angles to create compartments.
- Arrange tubes (like from toilet paper rolls) for pen and pencil storage.
- Paint, wrap, or decorate everything before assembling it with glue or tape.
This DIY project balances functionality and creativity, making it great for workspaces, craft tables, or even kids’ desks.
9. Customize Your Own Tote Bag
Got an old plain tote bag or T-shirt? You can give it an instant upgrade with things you already have, like fabric markers, iron-on transfers, or patches.
How to Do It
- If using markers, sketch your design lightly in pencil first, then fill it in with color.
- Use a stencil (you can make one from cardboard) for cleaner shapes and designs.
- For T-shirts, cut out squares or shapes to sew onto the tote for a funky patchwork effect.
This craft is eco-friendly and lets you show off your personal style. Plus, you’ll never confuse your bag with someone else’s again!
10. Jar Lid Photo Magnets
Don’t know what to do with leftover jar lids? Turn them into adorable photo magnets perfect for your fridge or any metal surface!
How to Do It
- Choose small jar lids as your base (baby food jar lids work great).
- Cut photos or decorative paper to fit inside the lid.
- Glue the photo to the lid's inner part, then attach a magnet to the back.
This craft idea creates practical and thoughtful keepsakes that make excellent gifts!