 (Image via
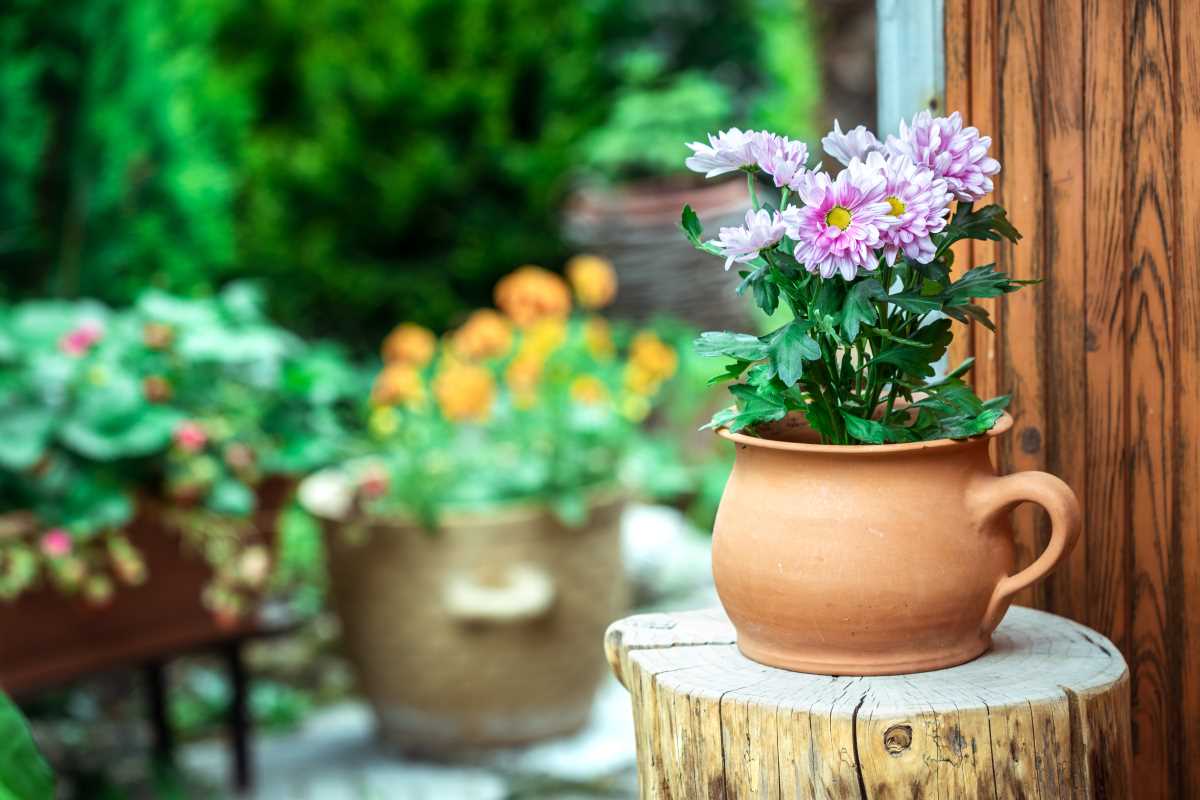
Are you looking for a fun, creative, and rewarding activity to do solo, with friends, or as a family? Hand-painting flowerpots and growing herbs together might just be the perfect project! Not only does it allow you to express your artistic side, but it also gives you something practical and beautiful to enjoy every day. Herbs are easy to grow and useful in the kitchen, while customized flowerpots add a dash of personality to any space.
This activity is perfect for anyone craving a little artistic fun combined with the joy of gardening. And don’t worry if you’re not much of an artist or a green thumb yet—we’ll cover everything you need to know to get started. By the end of this guide, you’ll have a set of hand-painted pots (worthy of showing off) and a thriving mini herb garden!
Hand-painting flowerpots is the kind of project anyone can enjoy. You don’t need to be a pro artist or a seasoned crafter. The beauty lies in your creative expression, whether you want to keep it simple with solid colors or go all out with intricate designs.
Painting flowerpots allows you to personalize your space. Instead of sticking with plain brown or gray planters, you can match your pots to your decor, add bright pops of color, or even include meaningful designs that make you smile every time you water your plants.
It’s an activity that offers relaxation too. Many people find painting therapeutic. It’s a chance to unplug, focus on something fun, and leave everyday stress behind.
The Benefits of Growing Herbs
Growing herbs isn’t just rewarding because you get fresh ingredients right at your fingertips; it also teaches patience, responsibility, and care. Herbs are easier to maintain than many plants, making them perfect for beginners. Plus, they serve a purpose beyond looking green and lovely. You can use them to flavor your meals, make tea, or even experiment with natural remedies.
The best part? Herbs can grow just about anywhere! Whether you have a big backyard or a tiny apartment, your personalized pots will fit perfectly on a windowsill or balcony.
What You’ll Need
Before we begin, here’s a quick list of materials you’ll want to gather for this project. It’s a short list, and most of the items are budget-friendly or easy to find at craft and gardening stores.
For Painting:
- Plain terracotta or ceramic flowerpots
- Acrylic paint (choose outdoor-safe if your pots will stay outside)
- Paintbrushes of different sizes
- Paint pens for fine details or writing words
- Painter's tape (for creating geometric designs or clean lines)
- Sealer or clear waterproof spray (to protect your design)
For Planting:
- Soil (a quality potting mix is best)
- Herb seeds or seedlings (basil, mint, parsley, and thyme are great choices)
- Small rocks or pebbles for drainage
- A small trowel or spoon
You might also want some paper towels and an old shirt or apron to avoid getting paint everywhere.
Step 1: Painting Your Flowerpots
Now comes the fun part! Painting your pots lets you channel your creativity and make each one unique. Here’s a step-by-step guide to inspire you.
1. Prep the Pot
Before painting, make sure the surface of the pot is dry and clean. Use a damp cloth to remove any dust or dirt. If you’re working with terracotta, consider applying a base coat of white paint. This gives you a blank canvas and prevents the terracotta from soaking up all your paint.
2. Plan Your Design
You don’t have to be a Picasso to decorate a flowerpot. Simple polka dots, stripes, or solid colors can look amazing. If you’re feeling ambitious, sketch out more complex designs like flowers, animals, or inspiring quotes. Painter's tape can help you create sharp lines or block off sections for different colors.
3. Get Creative!
Start painting! Don’t rush the process. Allow the first coat to dry before adding extra layers or details. If you make a mistake, don’t panic. Acrylic paint is forgiving, and you can always paint over it.
4. Seal Your Masterpiece
Once your design is dry, apply a clear sealer or waterproof spray. This step is especially important if your pots will be outside. It helps protect your artwork from fading or peeling over time.
Step 2: Planting Your Herbs
Once your pots are dry and ready to go, it’s time to bring them to life with greenery. Growing herbs is surprisingly simple, and we’ll guide you every step of the way.
1. Add Drainage Rocks
Place a small layer of rocks or pebbles at the bottom of the pot. This helps water drain properly and prevents your herbs’ roots from becoming waterlogged.
2. Fill with Soil
Add potting mix to about an inch below the rim of the pot. Gently shake the pot to level out the soil, but don’t pack it down too tightly.
3. Plant Your Seeds or Seedlings
- If you’re using seeds, check the packet for specific planting instructions, like how deep to plant and how far apart.
- If you’re using seedlings, dig a small hole, place the plant in, and cover the roots with soil. Press gently to secure the plant without squishing it.
4. Water and Place
Give your newly potted herbs a good watering, but don’t overdo it! The soil should be moist, not soggy. Place your pots in a sunny spot, like a windowsill or balcony.
Herb Care Tips
To help your herb garden thrive, keep these simple tips in mind:
- Light: Most herbs need plenty of sunlight (around 6 hours a day). If sunlight is limited, consider using a grow light.
- Watering: Check the soil regularly and water when it feels dry about an inch below the surface. Overwatering can be worse than underwatering!
- Harvest Smartly: Snip leaves often, but avoid overharvesting. This encourages the plant to grow fuller and stay healthier.