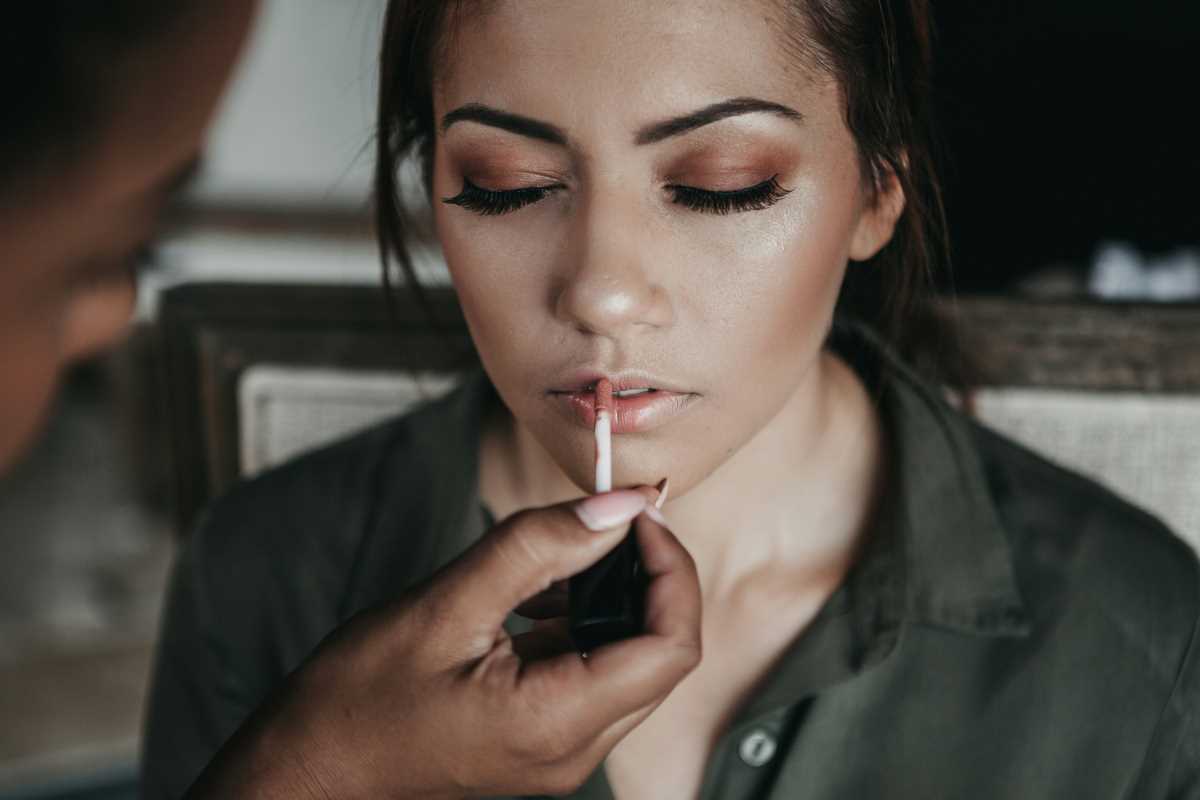
Soft waves are the ultimate hairstyle that strikes the perfect balance between chic and carefree. Whether you’re heading to brunch, a night out, or just want to look glam while running errands, soft waves are a go-to look that works for everyone. The best part? They’re supposed to look effortless, making them forgiving even if you’re not exactly a hairstyling pro.
But how do you achieve that Instagram-worthy, laid-back vibe without spending hours in front of the mirror? If you’ve tried and failed (and believe me, we’ve all been there), don’t worry. This guide will break it all down, step by step, so you can nail soft waves like a pro without overcomplicating things. We’re talking tools, techniques, and a few insider hacks to make the process simple, even if you’re new to styling. By the end, you’ll be rocking those waves like it’s second nature.
What Are Soft Waves Anyway?
If you’re picturing perfectly uniform curls, erase that image right now. Soft waves are about texture, body, and a slightly undone finish. They aren’t meant to be too precise or polished—that’s what makes them so appealing. Soft waves are loose, flowing curves in the hair that add volume and movement with minimal effort (or at least they look like minimal effort).
Think of beachy waves, but a little more refined—not straight off the sand, but not red-carpet-perfect either. They’re often described as the “I woke up like this” style, even though we all know most of us don’t actually wake up looking like we belong on a magazine cover.
The best part? They work on almost all hair types and lengths. Whether you have short hair, long hair, straight strands, or natural curls, you can make soft waves happen if you use the right tools and techniques.
Preparing Your Hair for Soft Waves
Start with Clean, Dry Hair
Soft waves often look best on hair that’s been freshly washed, but not squeaky clean. Day-old hair works great because it has a bit more grip, which helps the waves hold. If your hair gets greasy quickly, a dry shampoo can give you that “just-washed” freshness without stripping away natural texture.
Add a Little Texture
One of the secrets to great soft waves is starting with a little product. Here are some must-haves to prep your hair:
- Heat protectant spray to shield your locks from hot tools. (Seriously, don’t skip this step. Your future hair will thank you.)
- Volumizing mousse or texturizing spray for lift and hold. This is especially important if your hair tends to fall flat.
- Light styling cream or serum to tame flyaways and add shine without weighing things down.
Apply your products and brush through to distribute them evenly. Then, use your blow dryer to give your hair a quick round-brush blowout if it’s naturally straight. If you’re working with curly or wavy hair, just make sure it’s dry and detangled before styling.
Tools You’ll Need for Soft Waves
There’s no one-size-fits-all method when it comes to tools for soft waves. The best tool for you depends on your hair type, length, and whether you like to spend five minutes or 50 styling your hair. Here’s a rundown of some popular options:
Curling Iron
A curling iron is a classic choice for creating soft waves. Pick a barrel size of about 1 to 1.5 inches for the best results. The smaller the barrel, the tighter the wave, so if you want loose waves, go for a bigger barrel.
Flat Iron
Flat irons aren’t just for straightening! With some practice, you can use them to create smooth waves by twisting the iron as you pull it through your hair. This tool is great if you like a slightly edgier, more modern wave.
Curling Wand
Curling wands don’t have a clamp like traditional curling irons, so the results tend to look more natural. These are perfect if you want super loose, boho-style waves. Bonus points if you use a wand with a tapered barrel for added variety in the waves.
Heatless Methods
Want to give your hair a break from heat styling? Try braiding damp hair and letting it dry overnight. Or use velcro rollers, fabric strips, or even socks to create soft waves without any damage.
Step-by-Step Guide to Create Soft Waves
1. Section Your Hair
Divide your hair into sections so you’re not wrestling with a mass of strands all at once. Start by clipping up the top half of your hair and work on the bottom layers first. This will make things more manageable (and your waves more even).
2. Curl Away from Your Face
Whether you’re using a curling iron or wand, always curl the sections near your face away from your face. This creates the most flattering look and keeps the waves from falling awkwardly into your face. Wrap your hair around the barrel, hold for a few seconds, and release.
For a natural look, don’t curl all the way to the ends of your hair. Leave about an inch uncurled to keep things laid-back.
3. Alternate Directions
To avoid that “perfectly pressed” look, switch up the direction of your curls as you go. Curl some sections toward your face and others away from it. This adds dimension and makes the waves look soft and natural instead of too uniform.
4. Loosen the Waves
Once you’ve curled all your sections, give your hair a few minutes to cool. Then, gently finger-comb through the curls to break them up and soften the look. You can also use a wide-tooth comb or brush for even looser waves.
5. Finish with Product
Set your soft waves with a light-hold hairspray to make them last, but don’t go overboard. You want them to move and flow naturally, not look stiff. If you want extra texture, spritz on a little salt spray or dry texture spray. Got frizz? Smooth things out with a drop or two of hair oil.