Picture this: smooth, voluminous, and perfectly styled hair that looks straight out of a salon. We all love the confidence boost that a professional blowout gives, but booking those regular appointments can get pricey—not to mention the time it takes. What if we told you that you don’t need to spend a small fortune or set aside a big chunk of your schedule to get that salon-finished look?
With the right tools, techniques, and a little practice, you can achieve a salon-quality blowout right at home. Sound too good to be true? It’s not! This guide will break it all down step by step, so you can give your hair that bouncy, polished finish without leaving your house. Grab your brush and your blow-dryer, and let's get started!
A blowout is more than just drying your hair; it’s all about technique. When done correctly, it gives your hair body, shine, and smoothness that lasts for days. But why does it seem so hard to replicate at home? The secret is in the preparation, the tools, and the way heat is applied to your hair.
Hairdressers have mastered these techniques through practice, but the truth is, you don’t need to be a pro to get great results. With some insider tips, you’ll see that creating your own blowout isn’t as complicated as it looks.
The Tools
Before you jump in, it’s important to gather the essentials. The right tools can make all the difference between a so-so style and a showstopping blowout. Here’s your must-have list:
- Blow-Dryer with Attachments: A good blow-dryer with adjustable heat and speed settings is a lifesaver. Look for one that comes with a concentrator nozzle to help control direction and reduce frizz.
- Round Brush: The size of the brush matters! Larger brushes create more volume, while smaller ones give tighter curls or waves. Choose one with boar bristles or a mix of boar and nylon bristles for smooth results.
- Sectioning Clips: These keep your hair out of the way while you work on small sections, ensuring a clean, polished finish.
- Heat Protectant: Always use heat protectant spray to shield your hair from damage and keep it looking healthy.
- Finishing Serum or Spray: A lightweight serum adds shine and fights frizz, while a texturizing spray can give your blowout a little extra hold and movement.
Now that your toolkit is ready, it’s time to move on to the fun part!
Prepare Your Hair
The foundation of a great blowout is clean hair. Start by giving your locks a good wash using products that match your hair type. For example, if you have fine hair, use a volumizing shampoo and a lightweight conditioner. If your hair tends to frizz, opt for smoothing or hydrating products.
1. Towel Dry
Once you’re out of the shower, gently squeeze out excess water with a microfiber towel or an old t-shirt. Avoid rubbing your hair, as that can cause frizz or breakage. Styling soaking wet hair is a no-go; it takes longer to dry and increases the risk of heat damage.
2. Apply a Heat Protectant
Mist your heat protectant evenly throughout damp hair. This step is crucial to prevent your strands from drying out or getting fried by the blow-dryer.
3. Pre-Dry for Volume
Using your blow-dryer without the nozzle attachment, gently rough-dry your hair until it’s about 70-80% dry. Focus on the roots for some lift, and don’t aim the heat directly at the ends just yet. This quick step saves time later while also adding texture and volume.
Section Like a Pro
If you’ve ever felt overwhelmed trying to blow-dry your entire head of hair at once, you’re not alone. The key to a smooth blowout is working in small sections.
1. Divide Your Hair
Start by splitting your hair into four main sections: two on the top (think left and right sides of your head) and two underneath. Use sectioning clips or hair ties to keep them separate. This way, you can focus on one area at a time without getting tangled up.
2. Start from the Bottom
Work from the bottom layers of your hair first and move upward. This helps prevent over-drying and ensures even results.
Perfect Your Technique
Here comes the part that makes all the difference! Getting the right technique will give your hair that smooth, bouncy look you’ve been dreaming about.
1. Use the Right Brush Movement
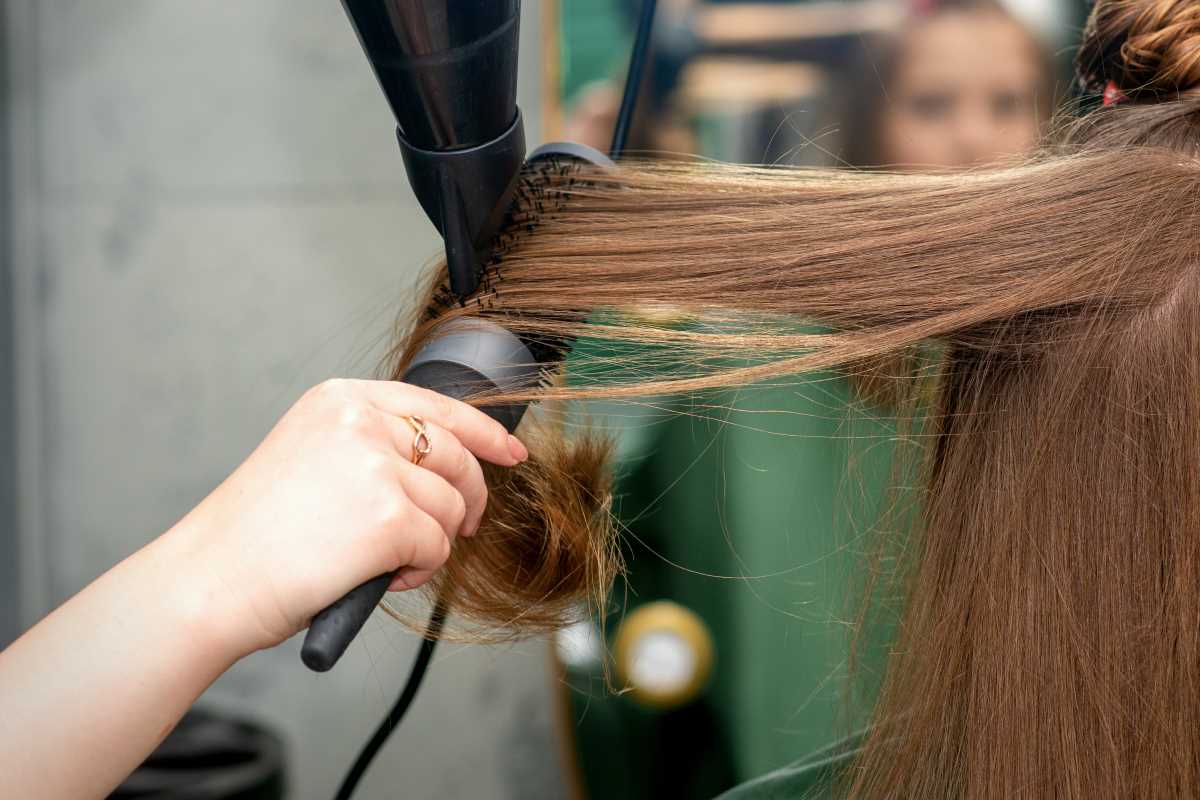
Take a small section of hair and place your round brush underneath it, close to the roots. Blow-dry from the top, moving the heat down the length of your hair while keeping the brush rolling. The combination of the two creates that signature smooth finish.
For extra lift at the roots, pull the hair upward and away from your scalp as you dry it.
2. Follow the Heat with the Brush
Keep the concentrator nozzle pointed down the hair shaft to seal the cuticle, prevent frizz, and boost shine. Move the brush and blow-dryer down the section at the same pace to avoid overheating any one spot.
3. Roll for Curls or Volume
For a voluminous blowout, wrap the ends around your round brush after drying each section. Hold it for a moment to set, then unwrap while still warm. This will create soft waves or a slight curl at the bottom.
Once your hair is dry, finish off your blowout with a little extra magic.
- Cool Air Blast: Switch your blow-dryer to the cool setting and run it through your hair. This locks in the style and helps it last longer.
- Add Shine: Smooth a dime-sized amount of serum over your ends to tame flyaways and give your blowout a glossy finish.
- Set It: Use a light mist of hairspray or texturizing spray to lock in the volume and keep your hair looking styled all day.
Troubleshooting Common Problems
Even with the best tools and techniques, things don’t always go as planned. Here are some quick fixes for common blowout struggles:
- Frizz: Check that you’re directing the heat downward and that you’re using a nozzle. A smoothing balm applied at the end can also help.
- Flat Roots: Make sure to pull your hair upward and out when drying the roots instead of letting it fall flat while you work.
- Uneven Texture: Work in smaller sections if needed, ensuring that each area is completely dry before moving on.
 (Image via