 (Image via
There’s something magical about strolling along the beach, the sand beneath your feet, waves crashing nearby, while you scout for seashells scattered along the shore. Seashell collecting is not only relaxing but also allows you to bring a piece of the ocean home with you. But now that you have a bag full of beautiful shells, what should you do with them? Instead of letting them gather dust in a corner, why not turn them into charming crafts?
Whether you’re looking for a way to preserve the memories of your beach trip, make decorations for your home, or just have some creative fun, seashell crafts are a great way to get started. Don’t worry if you’re not super crafty or experienced working with shells; these projects are simple, beginner-friendly, and use basic materials. You might even have everything you need already at home!
Here are some fun and easy seashell crafts you can try after your next beach trip.
Preparing Your Seashells
Before you jump into crafting, it’s important to prep your seashells. Natural seashells picked from the beach are usually covered in sand, salt, and sometimes even some ocean smell! Prepping them properly ensures they’re clean, smooth, and ready to work with.
Here’s how to clean your shells in three simple steps:
- Rinse off the sand: Run your shells under cool water to remove as much sand and debris as possible. Use an old toothbrush to scrub off stubborn bits of dirt.
- Remove salt and odor: Place your clean shells in a bowl of water mixed with a little vinegar or dish soap. Let them soak for 30 minutes to an hour to remove any lingering ocean smells or salt residue.
- Dry and polish: Lay your shells out on a towel to air dry completely. If you want them to look glossy, you can brush on a thin layer of clear nail polish or a craft sealant.
Once your shells are clean and ready, you can start crafting!
Craft 1: Seashell Photo Frame
Turn a plain picture frame into a cute, personalized coastal decoration using your seashell collection. This is a perfect craft for preserving memories of your beach trip alongside your favorite photo.
What You’ll Need:
- A plain wooden or cardboard photo frame
- Hot glue gun
- Seashells of various sizes
- Optional decorations (small pebbles, starfish, or sand)
How to Make It:
- Pick a photo frame you want to decorate and wipe it clean to remove any dust.
- Arrange your seashells around the frame to decide how you want them placed. Start by putting the larger shells at the corners or edges and fill in the gaps with smaller shells.
- Once you’re happy with your layout, use a hot glue gun to attach each shell. Be careful with the glue; a little goes a long way!
- For extra flair, you can add pebbles, sprinkle some sand onto the glue, or attach decorative starfish.
Now, simply insert a photo of your beach trip, and you’ve got a lovely custom frame to display.
Craft 2: Seashell Wind Chime
A seashell wind chime is a wonderful way to bring some relaxing beach vibes into your backyard or balcony. Each time the wind blows, you can hear the soft clinking of your shells.
What You’ll Need:
- A driftwood stick or branch
- Thin string or fishing line
- Small seashells (preferably ones with natural holes, or use a drill to make holes)
- Scissors
How to Make It:
- Take your driftwood stick and tie several long pieces of string or fishing line evenly spaced along the stick. These strings will hold your seashells.
- Thread your seashells onto the strings, securing them by tying knots underneath each shell to hold them in place. Arrange them in whatever pattern you like.
- Once all your strings are decorated with shells, tie both ends of the driftwood with additional string to create a hanger.
- Hang your wind chime in a breezy spot and enjoy the gentle sound of shells swaying.
Craft 3: Seashell Candle Holders
If you have some larger shells like clam or scallop shells, you can turn them into unique candle holders. These little candles are perfect for beach-themed decor or as thoughtful DIY gifts.
What You’ll Need:
- Large seashells
- Wax (either store-bought candle wax or old candles you want to recycle)
- Candle wicks
- A double boiler or two pots
- Optional: Essential oils for fragrance
How to Make It:
- Clean and dry your large seashells thoroughly.
- Melt your wax in a double boiler until it’s fully liquid. If you like, you can add a few drops of essential oil for a pleasant scent.
- Place a wick in the center of each seashell. Use a small piece of tape or a drop of melted wax to hold it in place.
- Carefully pour the melted wax into the shell, filling it just below the edge.
- Allow the wax to cool and set completely, then trim the wick to size.
Light your seashell candles for a cozy, coastal vibe!
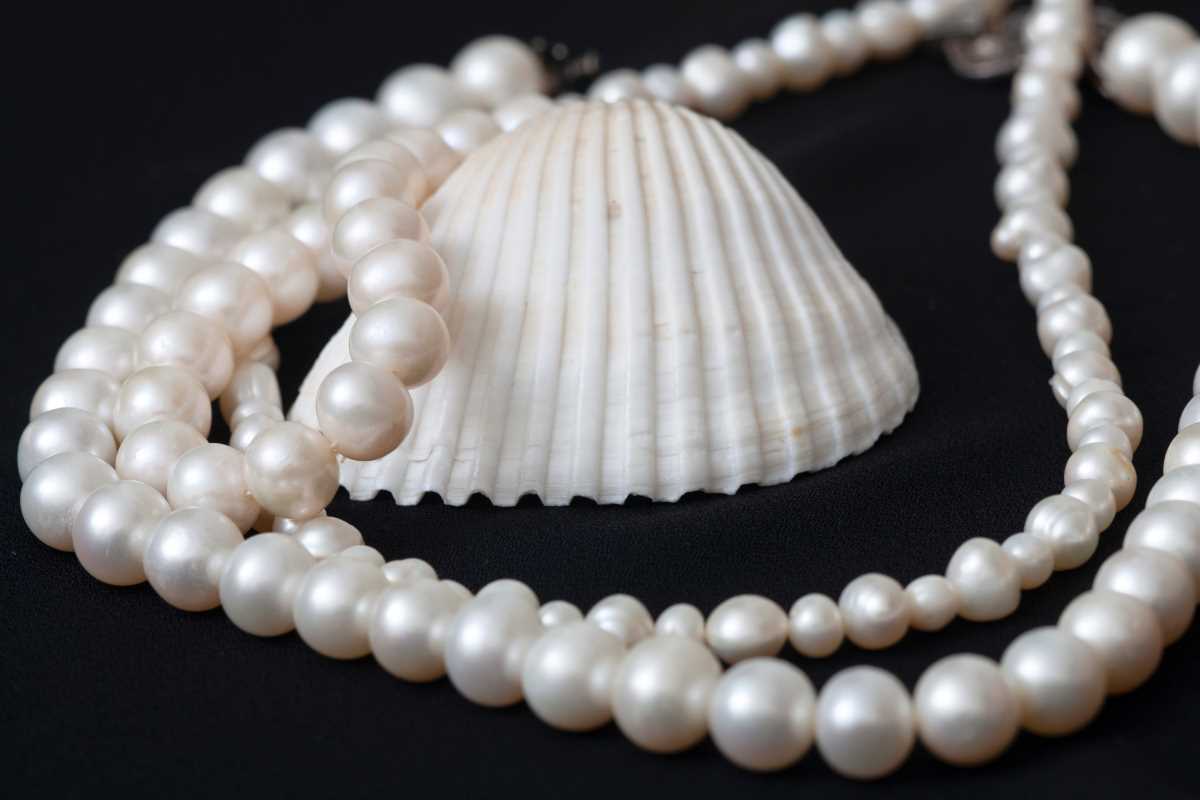
Craft 4: DIY Seashell Necklace
Want to keep a physical token of your beach trip with you? Turn a pretty shell into a simple pendant necklace!
What You’ll Need:
- A small seashell (preferably one with a naturally formed hole or use a small drill)
- Thin chain or cord
- Jewelry clasps
- Optional decorations like beads or charms
How to Make It:
- Start by drilling a small hole near the top of your chosen shell if it doesn’t already have one.
- Thread your chain or cord through the hole to create the pendant.
- Add any extra beads or charms for decoration if desired.
- Attach jewelry clasps to the ends of the chain or cord.
Now you’ve got a beautiful keepsake necklace to remind you of your time by the shore.
Craft 5: Shell-Coated Plant Pots
Take a simple flowerpot and transform it into a stunning piece of decor by gluing seashells around the outside. This project is perfect for both indoor and outdoor plants and adds a beachy vibe to your greenery.
What You’ll Need:
- Small terracotta or plastic flowerpots
- Hot glue gun
- A collection of seashells
How to Make It:
- Arrange seashells around the outside of your flowerpot to plan your design. Overlap them or arrange them mosaic-style for best coverage.
- Use a hot glue gun to attach the shells securely to the pot.
- Wait for the glue to dry completely before adding any soil or plants to the pot.
Fill the pot with your favorite plant or herb and display it proudly!