 (Image via
When it comes to makeup, foundation is like the base of your masterpiece. It sets the tone (literally) for the rest of your look. But let's be real, finding a foundation that matches your skin perfectly can feel as challenging as solving a tricky math problem. We've all been there—you think you've found the one, only to apply it and realize it’s too orange, too pink, or just wrong.
The good news? With a little guidance and know-how, you’ll become a pro at choosing a foundation that blends seamlessly into your skin, giving you that “your-skin-but-better” look. This guide will walk you through everything you need to know, from understanding your undertone to testing out products like a beauty expert. Say goodbye to mismatched face-and-neck combos and hello to confidence!
Step 1: Understand Your Skin Tone
First things first, what is your skin tone? People often confuse skin tone with undertone (we’ll get to that in a second), but your skin tone is the overall shade of your skin on the surface. It can change slightly depending on the season, sun exposure, or even how hydrated you are.
Skin tones are typically categorized into these main ranges:
- Fair: Extremely light skin that may burn easily in the sun.
- Light: Light skin that burns easily but can tan slightly.
- Medium: Warm, olive, or tan skin tones.
- Deep: Deeper, richer hues ranging from caramel to chocolate to ebony shades.
How to Figure Out Your Skin Tone
The easiest way to identify your skin tone is to observe your bare skin in natural light. Avoid artificial lighting since it can distort the appearance of your tone. Don’t forget to check other areas like your jawline, as this will give you a more accurate representation of how your foundation needs to match.
Step 2: Discover Your Undertone
This is the step where a lot of people go, “Wait, what's an undertone?” Your undertone is the subtle hue that comes through beneath your skin’s surface, and it stays the same no matter if you’re tan in summer or pale in winter. Knowing this detail can help you narrow down foundation options and avoid those dreaded mismatches.
There are three main undertones to consider:
- Cool Undertones: If your skin has hints of pink, red, or bluish shades, you’re in the cool category.
- Warm Undertones: Skin with golden, yellow, or peachy tones falls here.
- Neutral Undertones: If you’re somewhere in between, with no dominant pink or yellow tones, you’ve got a neutral undertone.
How to Determine Your Undertone
Here are some hacks to help you figure out your undertone if you’re not sure:
- Check Your Veins: Look at the veins on the inside of your wrist. If they appear blue or purple, you’re likely cool-toned. If they’re greenish, you’re warm-toned. If they’re somewhere in between, you’re neutral-toned.
- Jewelry Test: Do you look better in silver or gold jewelry? Silver tends to flatter cool tones, while gold complements warm tones. If both look equally good, congratulations, you’ve got neutral undertones!
- The White Test: Hold a white piece of clothing or paper up to your face. Does your skin look pinkish next to it? You’re cool-toned. If it looks yellowish or golden, you’re warm-toned.
Understanding your undertone is a game-changer for choosing not only foundation but also blush, lipstick, and more.
Step 3: Choose the Right Formula
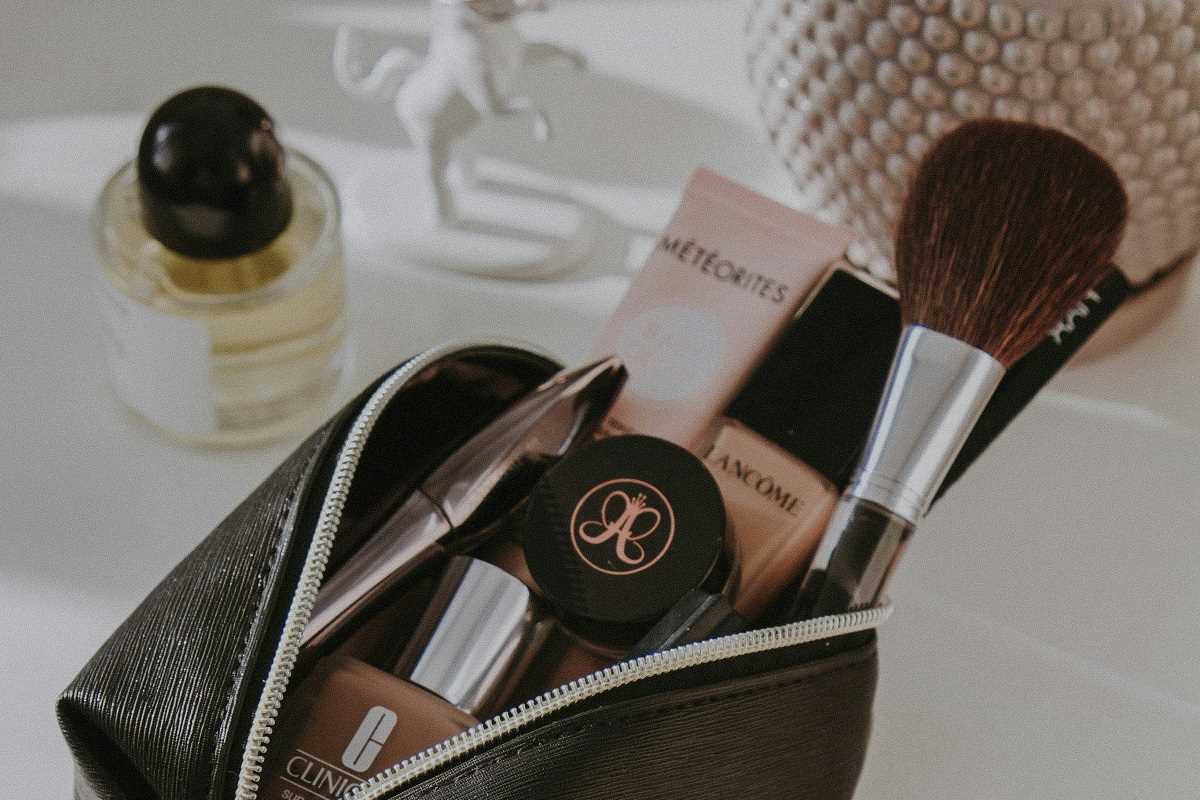
Foundation comes in so many formulas that it can feel overwhelming walking down the makeup aisle. Liquid, powder, stick, cream—which one do you pick? The right formula depends on your skin type and the level of coverage you want.
Match the Formula to Your Skin Type
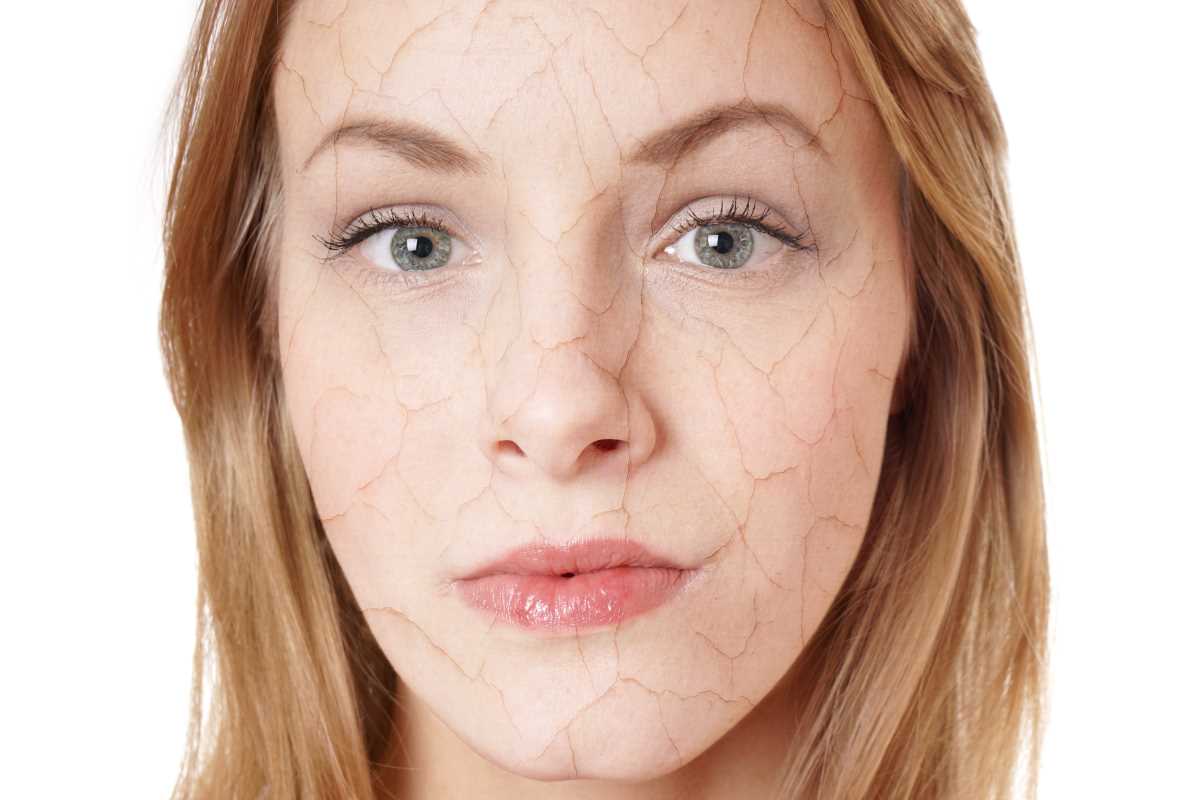
- Dry Skin: Look for hydrating formulas. Liquid or cream foundations work wonderfully as they add moisture and prevent your skin from looking flaky.
- Oily Skin: Opt for matte or oil-free formulas, often found in powder or liquid formats. These control shine and keep oil at bay.
- Combination Skin: Try a versatile liquid foundation or stick formula. These provide enough hydration for dry areas while staying matte on oily zones.
- Sensitive Skin: Go for non-comedogenic (won’t clog pores) and fragrance-free formulas to avoid irritation.
Coverage Tips
- Sheer Coverage: Great for those who like a natural, “no-makeup makeup” vibe.
- Medium Coverage: Perfect if you want to even out your skin tone while still allowing your skin to peek through.
- Full Coverage: Ideal for special occasions or if you want a more flawless, airbrushed look.
Step 4: Test Before You Commit
Testing a foundation properly before buying is crucial. Don’t just swipe it on your wrist and call it a day. Your skin tone on your wrist doesn’t perfectly match your face or neck, so it’s not the most reliable testing spot.
Where to Test
The best spot to test a foundation is along your jawline. Apply three swatches in slightly different shades and check them in natural light. The one that seems to disappear into your skin is your perfect match.
Pro Tip: Always step outside or near a window to see how the foundation looks in natural daylight. Store lighting can make any foundation look different.
Give It Time
Don’t rush the process! After you apply a small amount, wait a few minutes to see if the foundation oxidizes (a.k.a. changes color as it interacts with air). Some products might look fine initially but will darken over time.
Step 5: Don’t Be Afraid to Mix
Sometimes, no single shade is an exact match for your skin, and that’s okay! Mixing two shades of foundation can create a custom blend that’s tailored to you.
This is especially helpful if your skin tone changes with the seasons. Keep a lighter shade for winter and a darker shade for summer, and mix as needed to match your evolving tone.
Step 6: Tools Matter
How you apply your foundation can make or break your final look. Here are some popular tools and techniques and what they’re best for:
- Beauty Sponge: Perfect for seamless, blended coverage. Use it damp for lighter, dewier results.
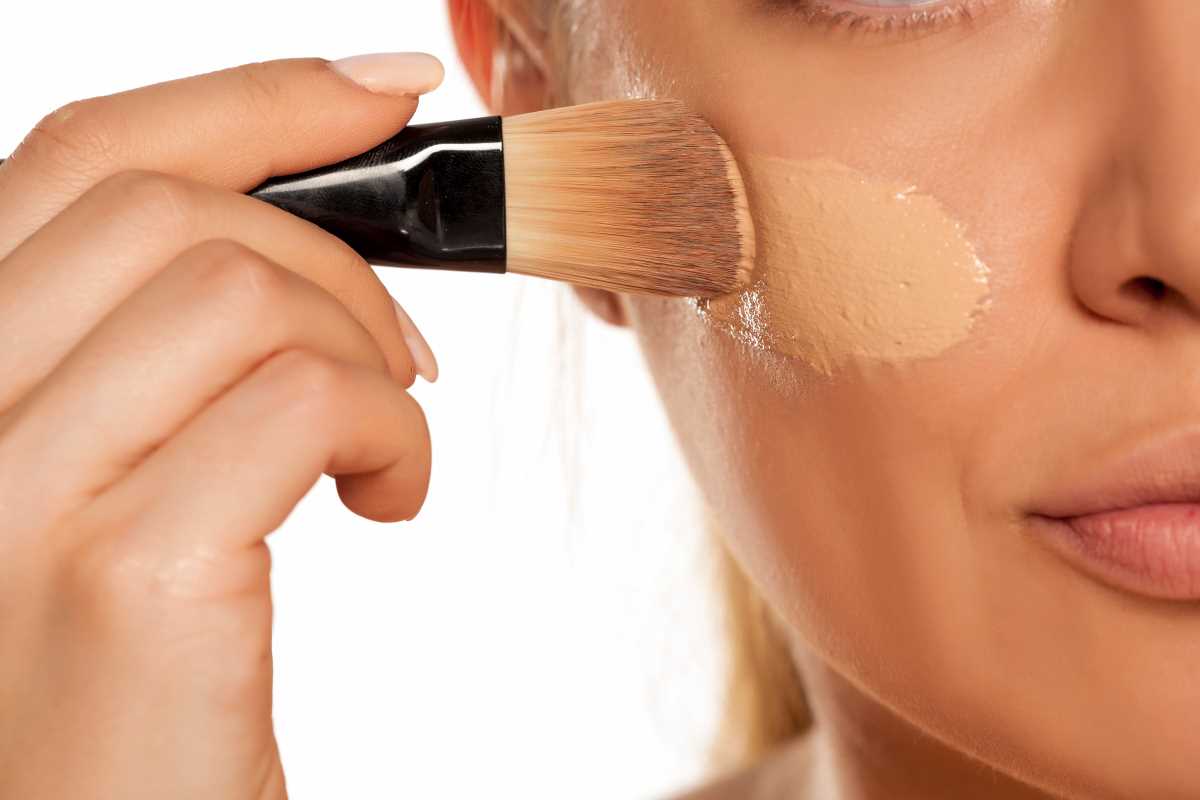
- Foundation Brush: Better for full coverage. Buff in circular motions for an even finish.
- Fingers: Ideal for sheer coverage. Just make sure your hands are super clean before blending.
Step 7: Check the Finish
Foundation finishes can also change the vibe of your look. It’s all about the end result you want.
- Matte Finish: Looks velvety and is ideal for oily skin.
- Dewy Finish: Feels fresh and glowy, making it a favorite for dry or mature skin.
- Natural Finish: The perfect middle ground, mimicking the look of real skin.